PayStar customer experience
QuickPay
This gives the customer the ability to look up their account using their account number to find their balance and make a payment, all with just a few clicks! The process for making a payment via QuickPay is detailed below.
Account Search
Enter your Account Number, then select “Look Up Account”.

Account Overview
This includes account number, balance, due date of the bill, as well as any additional fields of information made available by the biller.
To make a payment, select “Make a Payment”.

Enter Payment Amount
The customer is presented with the option to pay the full Account Balance or to Pay a Different Amount.

Enter Payment Method
The Payment Method Page allows the customer to enter their credit/debit card or eCheck information to make the payment.


Review Payment
The Review Payment page is the last step in the process. This is where the customer can review their payment information and where they will agree to the service fee and terms of use by clicking “Submit Payment”.

Confirmation
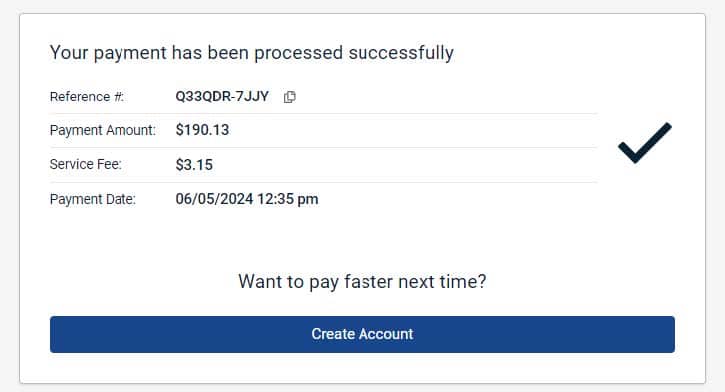
After the payment has been submitted, the customer will be brought to the Confirmation Page, where they will be presented with the status of their payment, Reference Number, breakdown of amounts paid, and Payment Date.
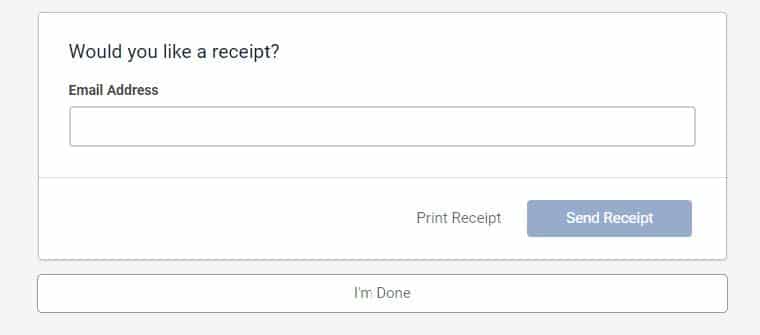
Would you like a receipt?
When payment is successful, the customer can email or print a copy of the receipt. The receipt shows the same information as the Confirmation Page.
Pay Faster Next Time
After a customer has submitted a payment, they are prompted to Create Account, which allows customers to create a logged in user within Paystar. Creating an account will give the customer access to additional features available through their biller.

Customer Portal
Create Account
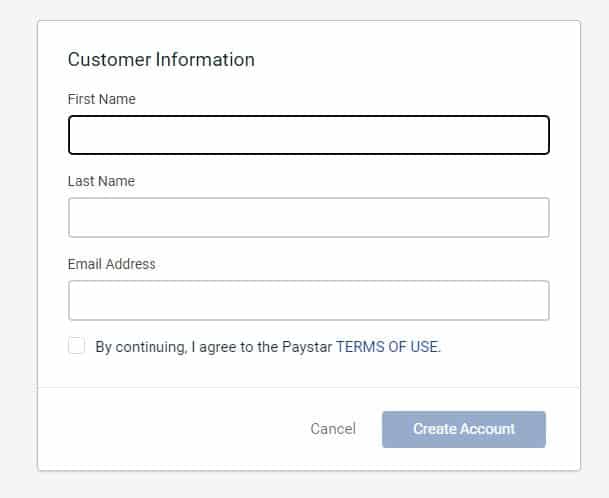
When a customer selects the Create Account, they will be asked to enter their first name, last name and email address. They will need to agree to the Terms of Use and select Create Account. Once completed, the customer will receive an email to Finish Account Registration. This will prompt the customer to create a password.
Dashboard
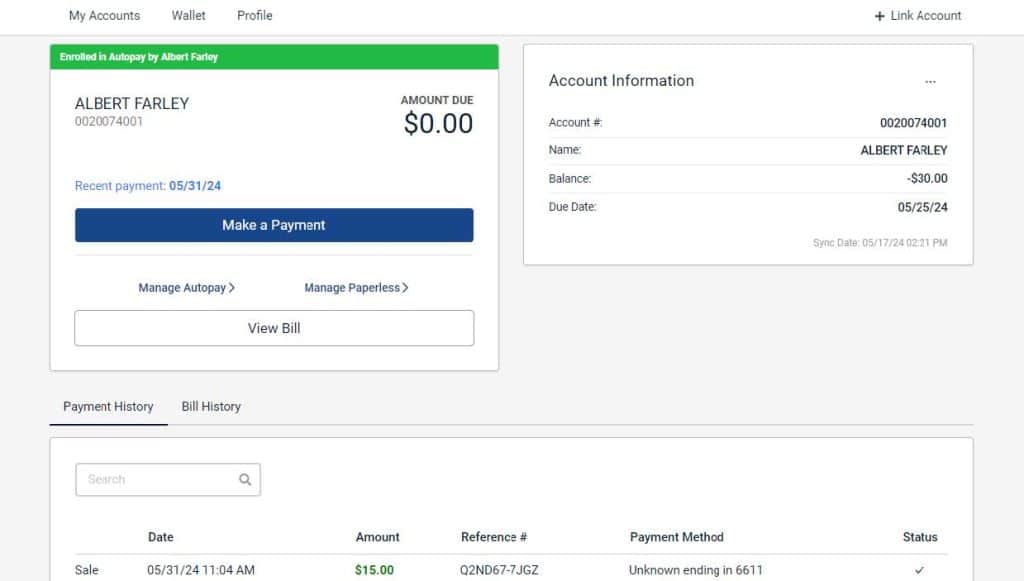
The customer dashboard provides an overview of the customer’s account(s) and how they access additional information and features available to them through their biller.
Link Accounts
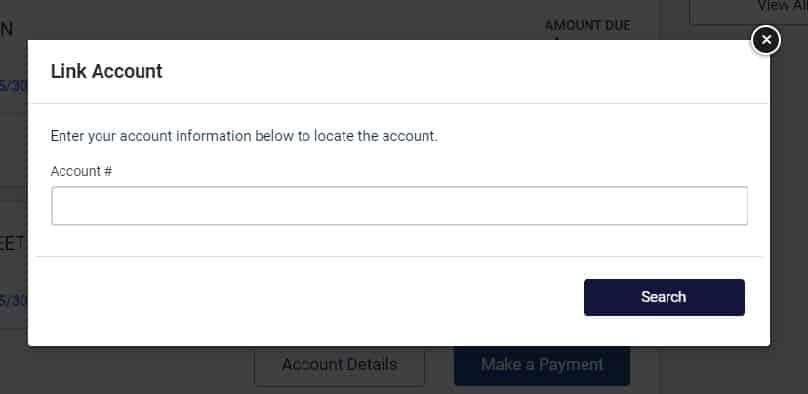
If a customer owns multiple properties, they may select the “Link Account” option in the top right corner of the tab. This allows them to use their customer portal for multiple accounts via one email address.
Manage Autopay
The Manage Autopay Option allows a customer to enroll in Autopay (recurring monthly payments) via the customer portal. Customers can manage their settings and make updates to their preferences at any time.
Enroll in AutoPay
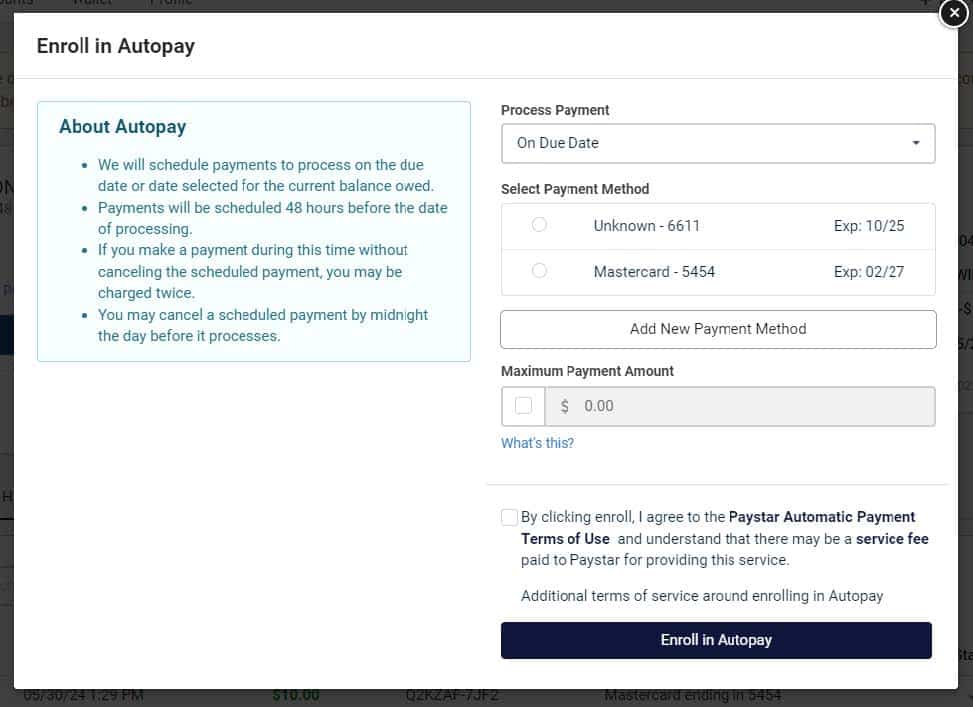
On the Dashboard, the customer will see Manage AutoPay under the Amount Due. To enroll, the customer will click Manage Autopay. If the customer does not have a Payment Source saved to their wallet, the modal will ask them to add a Payment Method before enrolling. The enrollment modal will ask the customer to choose a payment processing date, a payment method, and a maximum payment amount.
Process Payment
The customer can choose to process their AutoPay payment up to 5 days before the due date. They can choose multiple options for processing payment date:
On Due Date
- 1 Day Before Due Date
- 2 Days Before Due Date
- 3 Days Before Due Date
- 4 Days Before Due Date
- 5 Days Before Due Date
Select Payment Method
If the customer has a payment method saved in their wallet, it will appear under Select Payment Method. They can choose to use a saved payment method or they may add a new one. The chosen method will be the one used to process automatic payments. NOTE: A customer cannot remove a payment method from their wallet if it is being used for AutoPay. They must update their AutoPay payment method to a different payment method before removing the one that is currently in use.
Maximum Payment Method
A customer can set a maximum amount that can be charged to their payment method. If the balance due is above the maximum amount set, the payment method will not be charged at all. The customer will need to pay their bill or amount owed by other means.
Terms of Use
To enroll in AutoPay a customer must review the Paystar Automatic Payment Terms of Use. Once the checkbox is clicked, they will be able to click “Enroll”.
Autopay Updates
If the Account was enrolled in Autopay via the Customer Portal by the Customer, Customers can manage their AutoPay settings from the Customer Portal Dashboard by clicking Manage Autopay on the Account Details. Customers can change their payment processing date, payment method, and maximum payment amount. To save updated Autopay settings, the customer must re-review the Paystar Automatic Payment Terms of Use. Once the checkbox is clicked, they will be able to click “Update Settings”. If the Account was enrolled in AutoPay by the Organization via the Back Office Portal the customer will need to contact the organization to manage the Customer’s autopay elections. The organization can also unenroll the customer in Back Office Autopay so that the customer can manage their elections moving forward.
Customers can unenroll from AutoPay from the Customer Portal Dashboard by clicking “Manage Autopay”. A pop-up will appear that is similar to the Enroll modal. At the bottom-left of the AutoPay modal, there will be Unenroll from AutoPay in red text. NOTE: Any payments already scheduled to be processed must be canceled manually. Unenrolling will not cancel previously scheduled payments.
Cancel a Scheduled Payment
An automatic payment is scheduled to be processed two days before the processing date. Once scheduled, the customer has until midnight the day before processing to cancel the scheduled payment.
Autopay Notifications
Customers who are enrolled in AutoPay will receive email notifications regarding their AutoPay settings and payments.
- AutoPay Enrolled – You have enrolled in AutoPay.
- Upcoming AutoPay Payment – Your payment has been scheduled.
- AutoPay Scheduling Issue – Your payment has not been scheduled.
- AutoPay Updated – Your AutoPay settings have been updated.
- AutoPay Payment Canceled – Your scheduled payment has been canceled.
- AutoPay Canceled – You have unenrolled from AutoPay.
Manage Paperless
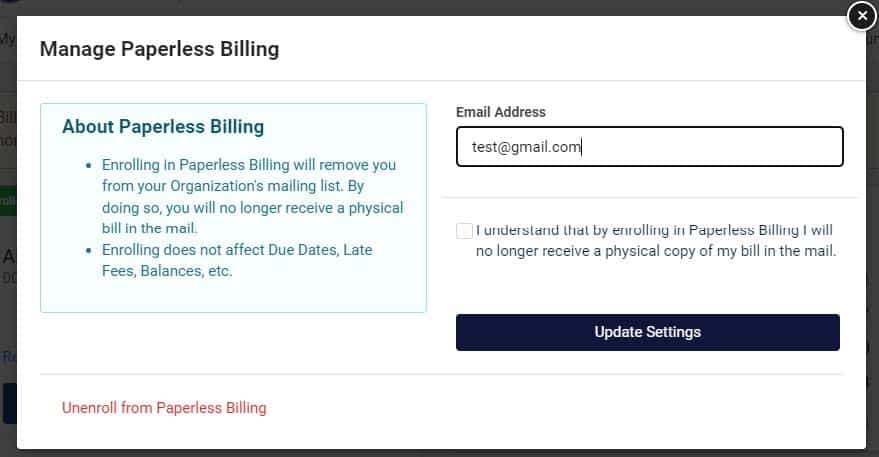
The Manage Paperless option allows for the customer to enroll in paperless billing. By enrolling in this feature, customers are opting to no longer receive a physical bill in the mail. The customer also has the ability to unenroll from this feature at any time.
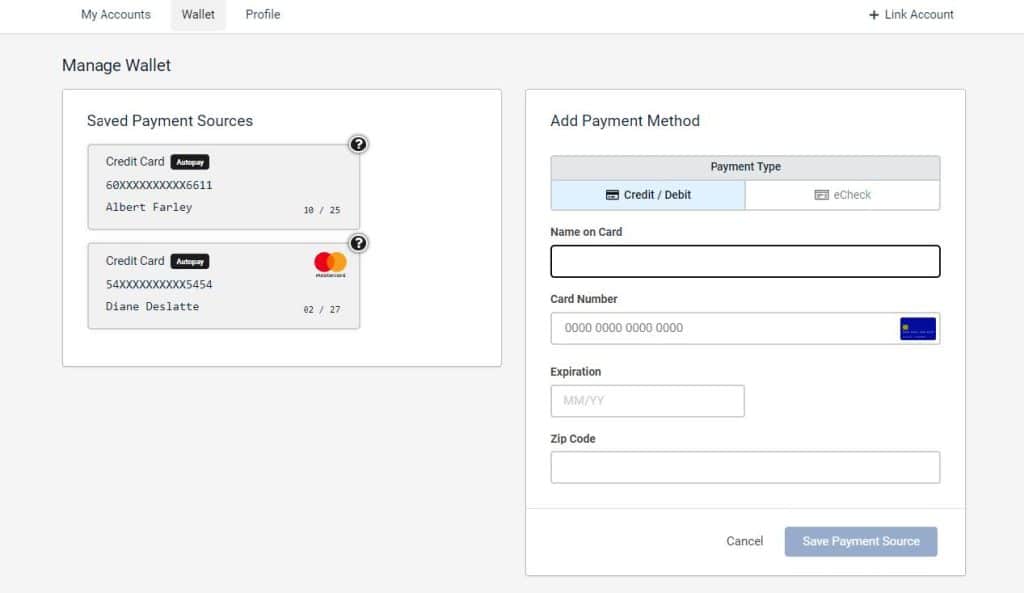
Wallet
The Wallet function allows the customer to save payment methods for convenience by automatically inputting the information instead of manually for every payment. It is also possible to store multiple payment methods. To edit, simply delete and add a new payment method. www.
Notifications
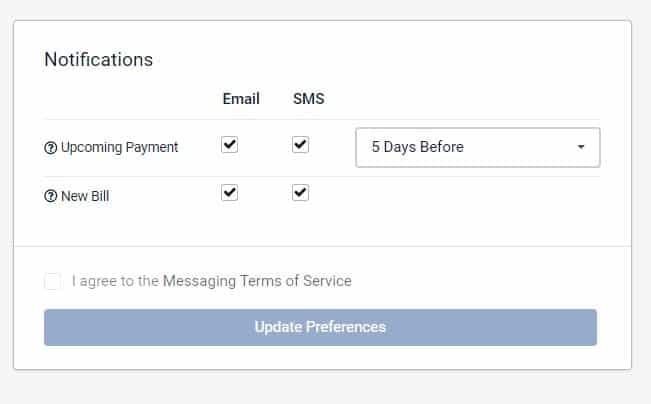
Upcoming Payment Notifications give the customers the ability to receive email and text reminders when a payment is getting close to the due date. Customers have the ability to select to receive these emails and texts up to five (5) days before or on the due date.
New Bill Notifications give the customers the ability to receive email and text notifications when a new bill is available online. Notifications go out at 6:00 PM the day bills are added to the Customer’s Account.
